How to Build a Guitar Pedalboard
There comes a point in almost every guitarist's life when one pedal becomes two, two somehow become five, and suddenly the floor in front of your amp looks like a music store exploded.
Welcome to the pedalboard dilemma.
Building your first guitar pedalboard can feel complicated because there are countless pedals, boards, power supplies, cables, and opinions about where everything should go. The good news is that there really isn't one perfect pedalboard.
There is only the pedalboard that works for your sound.
Let's build one.
What Is a Guitar Pedalboard?
A pedalboard is simply a platform that keeps your guitar effects pedals organized, connected, powered, and ready to play.
Instead of connecting five individual pedals every time you pick up your guitar, you can build one organized signal chain and leave everything connected.
A good pedalboard should make playing easier—not make you spend 20 minutes figuring out why your guitar suddenly has no signal.
Step 1: Start With the Sound You Want
Before buying pedals, think about what you're actually trying to play.
A blues guitarist inspired by Stevie Ray Vaughan, John Mayer, or Eric Clapton may build around overdrive, boost, fuzz, delay, and modulation.
Someone playing ambient music might care more about chorus, delay, reverb, looping, and modulation.
A rock guitarist may start with distortion, overdrive, wah, and delay.
You don't need every effect.
For a first pedalboard, even something as simple as:
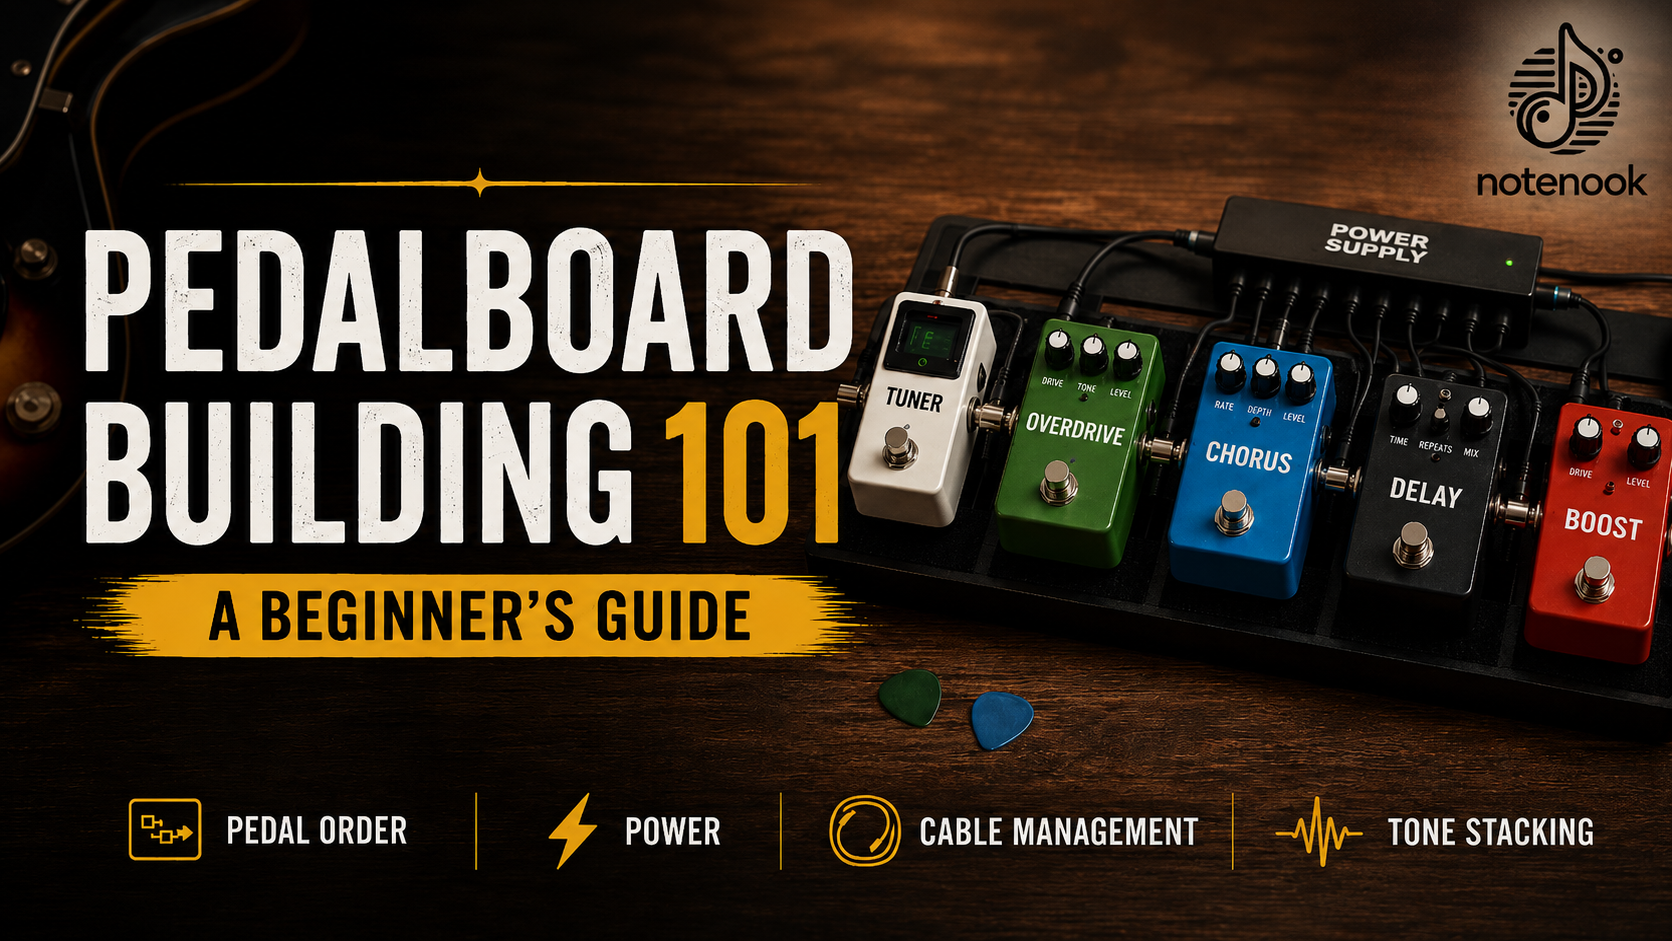
Tuner → Overdrive → Chorus → Delay
can cover a surprising amount of ground.
Build around the music you actually play.
Step 2: Understand Guitar Pedal Order
There are no laws governing guitar pedal order, but there is a common starting point.
A basic guitar pedal signal chain might look like:
Guitar → Tuner → Wah/Filter → Fuzz → Compressor → Overdrive/Distortion → Boost → Modulation → Delay → Reverb → Amp
Why this order?
Gain effects like overdrive and distortion usually establish the core character of the guitar tone. Modulation, delay, and reverb can then manipulate that tone afterward.
But experimentation is part of the fun.
Put delay before distortion and it behaves differently.
Move your boost before an overdrive and it may add more saturation. Move the boost after the overdrive and it may create more of a volume increase.
Some vintage-style fuzz pedals can also react very differently depending on what comes before them, especially pedals or tuners with buffered outputs.
So treat the traditional signal chain as a starting point—not a rulebook.
Step 3: Learn How to Stack Drive Pedals
This is where pedalboards get really fun.
Tone stacking means using multiple gain pedals together to create sounds that neither pedal produces by itself.
Imagine you have:
Clean Boost → Overdrive → Overdrive
The first overdrive might create your everyday rhythm sound.
Turn on the second and you could push the combination into a thicker lead tone.
Add the clean boost and you can push the input of the drive pedals even harder.
Try keeping the gain lower on individual pedals and stacking them together. Two lower-gain sounds can often create a more dynamic result than simply turning one distortion pedal all the way up.
Experiment with:
Low gain + low gain
Boost + overdrive
Fuzz + overdrive
Overdrive + amp breakup
There are countless combinations.
Your ears get the final vote.
Step 4: Don't Ignore Your Pedalboard Power Supply
Power isn't the exciting part of building a pedalboard—until something starts buzzing.
Check the voltage, polarity, and current requirements of every pedal before connecting it to a power supply.
Many guitar pedals use 9V DC power, but that does not mean every pedal uses the same power requirements.
A quality pedal power supply with isolated outputs can help keep a board organized and reduce potential noise problems.
And never assume a random power adapter is safe for a pedal just because the plug fits.
Your pedals will thank you.
Step 5: Choose the Right Pedalboard Size
It's tempting to buy a board that perfectly fits every pedal you own today.
Then you buy another pedal next month.
Give yourself some room.
Before ordering a board, place your pedals on the floor and experiment with layouts. Remember to leave space for patch cables, power connectors, and anything you may want to add later.
You should also think about how you're going to reach the pedals.
A pedal you turn on constantly should probably be easier to reach than an effect you use once during a set.
Step 6: Clean Up the Cable Management
Once you've found your layout, make the board clean enough that troubleshooting remains easy.
Use short patch cables where practical.
Route power and audio cables deliberately.
Secure cables without making it impossible to remove a pedal later.
Label complicated connections.
And leave yourself enough slack that plugging something in doesn't put unnecessary stress on the jack.
A clean pedalboard doesn't just look better.
It makes problems easier to find.
Step 7: Remember the Little Things
Guitarists can spend thousands of dollars perfecting the signal chain and then spend ten minutes looking for a pick.
We're guilty of it too.
Keep the small things you actually use organized around your setup: picks, slides, cables, capos, tuners, and whatever else tends to disappear between sessions.
That's part of why we created Note Nook guitar pick storage in the first place. A setup should make you want to grab the guitar and play—not start a scavenger hunt every time inspiration hits.
